Monthly Archives: March 2013

Flakey, Buttery, Heavenly Croissants

Since I’m a glutton for gluten I’ve had flakey croissants on my TODO list for a while.  Nothing beats a large buttery croissant.  The flakey, tender, supple, layers you get from a croissant put me into a state of bliss.  Plain or stuffed I’ll eat them.  I’ve been hesitant to make them because I thought I’d be completely disappointed with the result.  I thought, “why bother if they won’t come out the way I want.”

It was decided that we would host Easter Sunday and The Mrs. asked if I would make croissants.  I decided now was as good a time as any.  I searched and searched for a recipe, lots of similar ones out there but I settled on this one from Girl vs Dough.  One modification was white sugar instead of brown sugar.

I humbly admit these were the BEST croissants I’ve ever had.  I will absolutely make this recipe again and I will not share next time.  However, this is truly a labor of love.  The dough has to be tended to each hour, on the hour, for about 5 hours.  Then after a night of resting you’re finally ready to bake.

After making the initial dough I knew this could be great.  This first step was boosting my confidence already. The dough felt so light and soft in my hands.

Initial Dough

Dough needs time to rest.  After it’s been rolled and kneaded it just wants to rest.  I can understand why it feels that way.

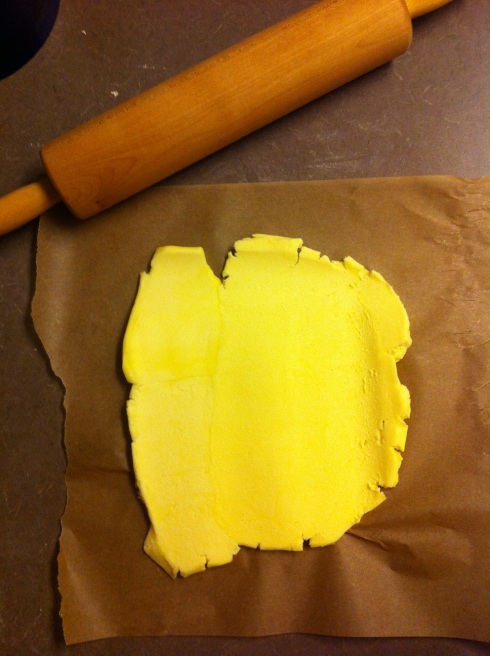
While the dough is resting (for an hour), it’s time to roll the butter.  THREE sticks of butter to an 8″ x 5″ rectangle.  The butter needs to stay cold throughout this entire process.   After you’ve rolled it out it goes back in the fridge for ~30 minutes.

Rolled Butter

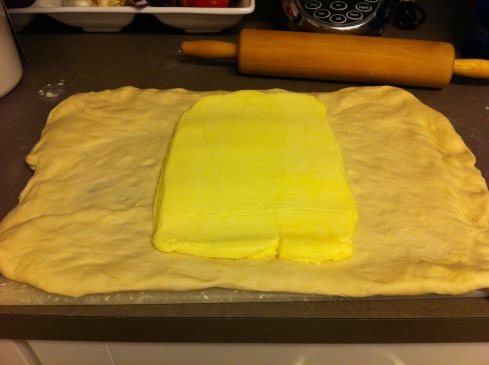
After the first hour of dough at rest, roll it out and place the block of butter right in the middle. You fold each side in like a letter and then roll it flat again (15″ x 10″).  Then you fold in the sides again to end with a 15″ by 5″ rectangle and it’s back in the fridge.  This is called Turn 1 (roll and fold).

Dough & Butter

After another hour you repeat for Turn 2.
After another hour you repeat for Turn 3.
After another hour you repeat for Turn 4.

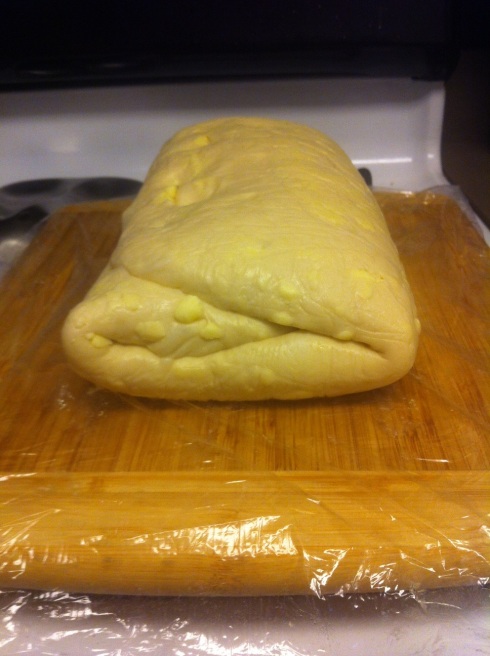
Now the dough stays in the fridge for 8-12 hours (aka overnight).  The final dough looks like this the next morning.  Can you see those lumps of butter?!  Did you also catch how all that folding creates the many flakey layers you find in the final product?

Final Dough

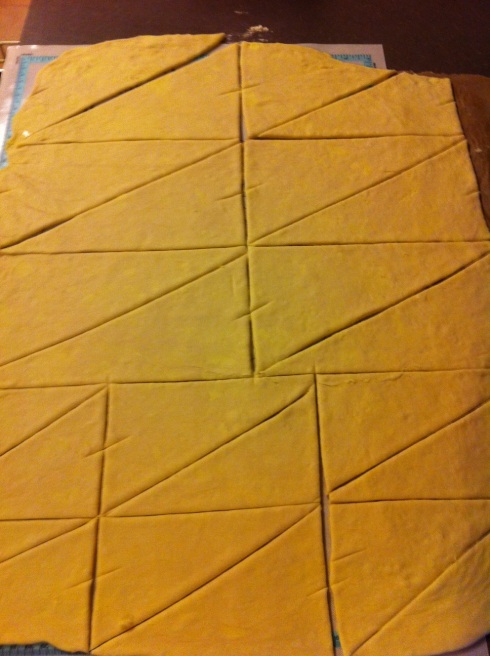
Now the dough gets rolled out to a thin sheet roughly 32″ x 20″.  Then divide the dough into sections depending on how big you want them to be. A pizza cutter works great for this.

Rolled & Cut

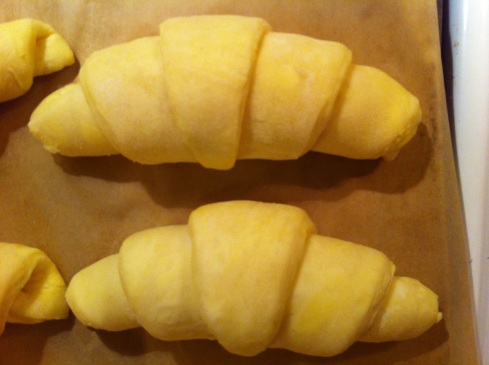
Each triangle of dough is rolled to form that famous shape of the croissant that we all know and love.  After they’re all rolled, they rest, covered, for another 1-2 hours until they’ve puffed up.  You can see how plump these guys got.

Taking Shape

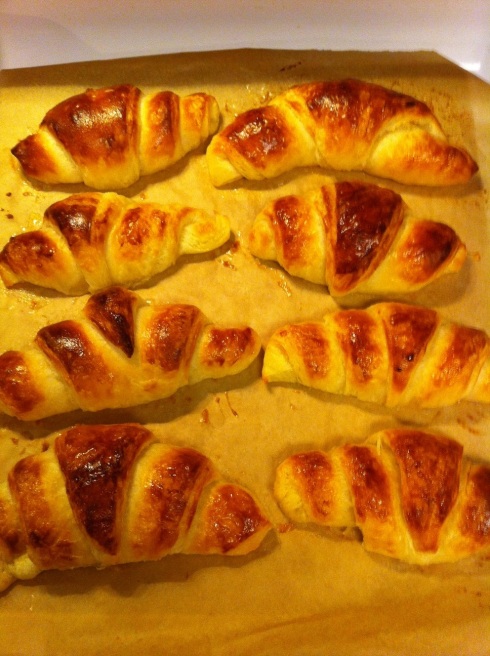
Once it’s time to bake you cover these “Rolls of the gods” in an egg wash and bake them at 450 for ~12 minutes.  I found that mine darkened pretty quick so I turned down the temperature and watched them closely.  I was pumped when these came out of the oven.  They looked and smelled so good.   We let them cool and then it seemed like they were gone in minutes.

Croissants

Some of them were eaten plain and some were stuffed with grilled chicken salad.
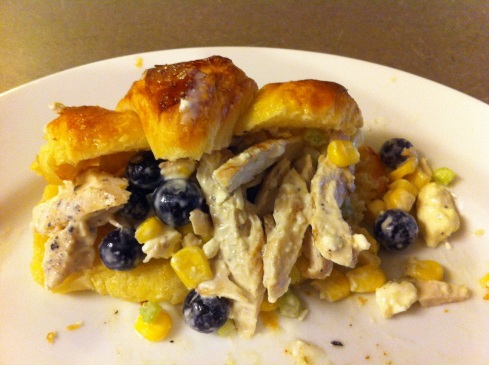
Stuffed Croissant

The final bit to this adventure is that we stuffed 5 of these croissants with chocolate chips.  Why only 5 you ask?!  I blame the Mrs.  Next time it’ll be all of them.  The ones with the chocolate were amazing!  Better than any store bought chocolate pastry.

In closing.  Yes, I’m for hire.
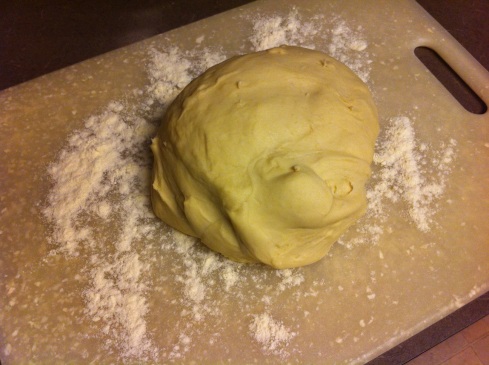

Apple Dumplings

I’m a big fan of baked fruit desserts.  I enjoy a good cobbler, streusel, pie, tart, etc.  Anytime you have a flaky crust/crumble + fruit you can’t go wrong.   I’ve wanted to try apple dumplings for a while and figured I’d give it a shot.  I made a sweet potato pie a few weeks back and still had some pie dough laying around.

You’ll notice the pie crust is a bit splotchy, not it’s usual buttery looking color.  I kept the dough in the fridge a little too long and it started to turn grey.  It’s not at all bad, just discolored so don’t be alarmed.  It’s just butter and flour so there’s not much that can go wrong.

I picked up a couple apples at Trader Joe’s and decided it was time to bake.  It was bad timing on my part, because we had already been cooking and preparing all day for Easter Sunday but I went ahead and made my dessert.   The Mrs. questioned my timing but was still my supportive photographer.

Pie crust + apples would be ok by itself, but to make it worthwhile you need suger and butter.  I found this quick recipe for the sugar/butter mixture and went with it.

Step 1: Combine the following in sauce pan over high heat.

1/2 cup water
1/4 cup granulated sugar
1 teaspoon vanilla extract
1 tablespoons butter,
1/8 teaspoon ground nutmeg

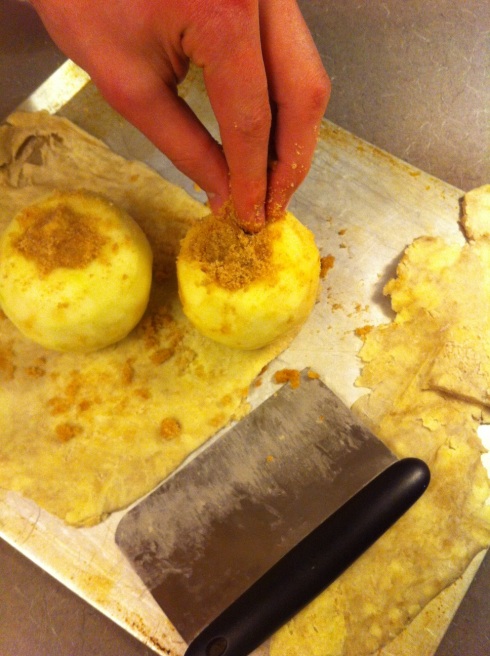
Step 2:  Combine the following and stuff it in the middle of the cored apples.

1/4 cup light brown sugar
1/4 teaspoon ground cinnamon
1 tablespoons butter, softened

The Filling

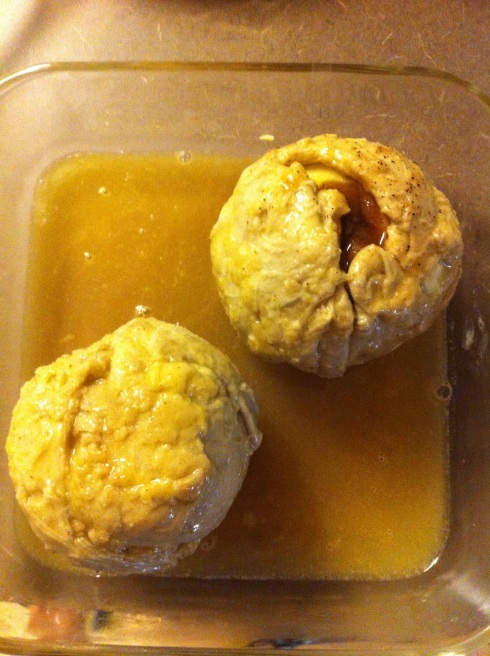
Step 3: Wrap the pie crust completely around the apples and put them in a baking dish.  Pour the heated sugar water over the apples and bake for 45 minutes at 375.

Before Cooking

I usually pride myself on following instructions but I got too big for my britches and thought I’d overlook a particular instruction.  I will not do that again.  It is imperative that you place the dumplings seam-side down in the pan.  The weight of the pie crust as it heats will cause the dough to FALL OFF the apple and then you’re just left with a naked apple with it’s pants around its knees.

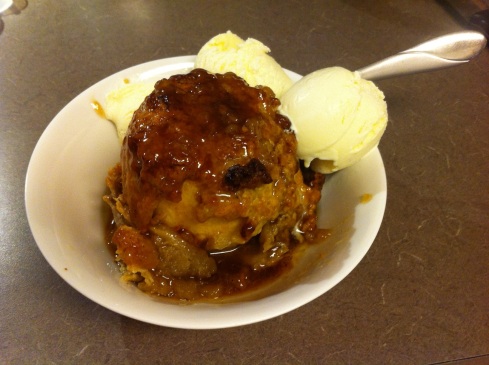
Apple Dumpling

I poured some of the sugar water (it baked in) over the top and added a few scoops of vanilla ice cream.   I admit it was quite a sugar rush after eating the whole thing.  I may cut down on the sugar next time… or maybe I’ll just eat slower.


Pancake Story

During the pasta class I took recently I overheard a conversation between two ladies who were ~55 years old that I thought was very interesting.  They were commenting on how simple it was to make your own pasta dough (flour + eggs).  This reminded one of the ladies about a recent experience in her life.

She went on to explain that one Saturday she went to make pancakes for her kids and her box of pancake mix was empty! (Me: OH THE HORROR!)  Thankfully she decided she would try to make pancakes herself instead of running out and buying another box mix.  I’ll give her credit for that.  She then emphatically told the lady next her, “I couldn’t believe how easy it was to make them myself! I don’t need to buy pancake mix any more.”  She then tried to remember how she made them and only got as far as flour and water.  She probably thought of water because that’s what a box mix would call for.  If you’re making your own pancakes, you want to use milk as your primary liquid.

I tell this story because 1) I hate box mixes, and 2) our society is in a horrible place if we think we need a box mix to make pancakes.  How do you think people made pancakes (or anything that comes in a box) before those boxes were available?  The convenience of a box is turning people into dependent, uninformed individuals.

If you see something in a box, you can make it at home with ingredients you probably have on hand.  Don’t let those box mix companies make you think otherwise.


Homemade Pasta

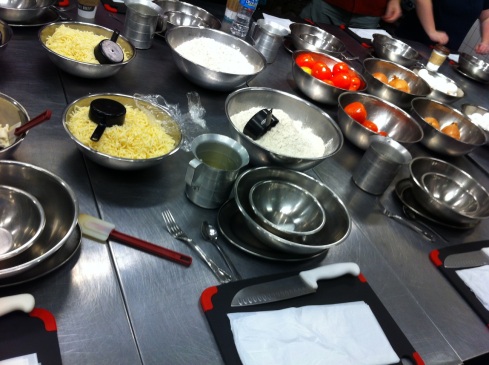
I finally got to take the homemade pasta class at Cookology that I’ve been pining for.  We learned how to make linguini and tortellini, from scratch, with our bare hands.  The table was prepped with individual workstations and all the ingredients we would need.  The majority of them are for the sauces and tortellini filling.  The only ingredients you need to make pasta are flour, eggs, salt, oil, and a little water.
pastaprep1

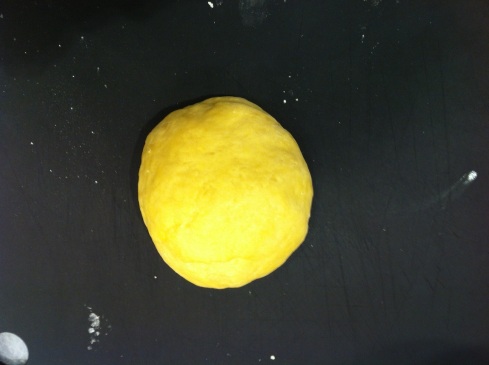
The first thing we did was make our pasta dough.  It was 2 cups of flour + 2 eggs + salt + oil + water.  You then mix it all together (with your hands) and then knead the dough for ~20 minutes.  It’s a lot of work to knead the dough. It’s a great hand/arm workout.  You want to end up with a smooth looking (not sticky) ball, adding small amounts of water if needed.  Set that aside for 20 minutes and let it rest.  After all the kneading it needs to rest.
Dough Ball

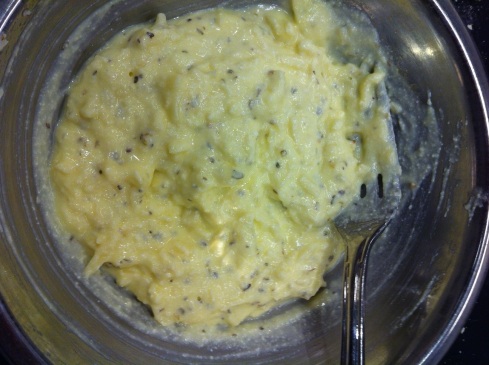
We then made our 3 cheese tortellini filling, which was super simple. 2 tablespoons parmesan, 1/2 ricotta, 1/2 mozzarella, 1 egg, and a pinch of oregano, thyme, and salt.

3 Cheese Filling

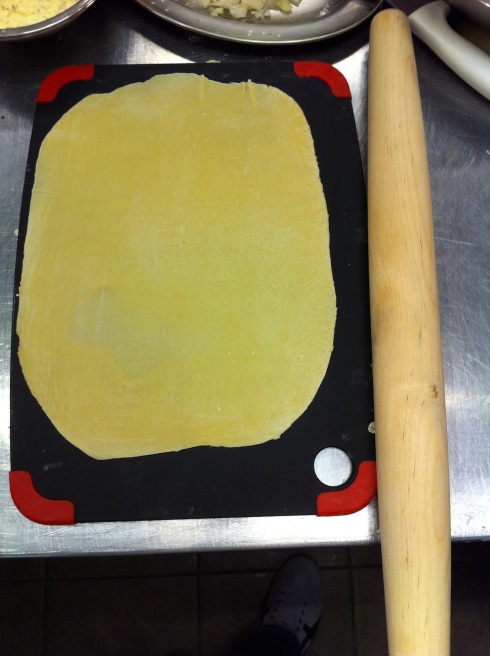
We then divided the ball of dough into 3 equal parts and we rolled them into very thin rectangles.  This took a while and again worked the arms. This is a time consuming process when you add it all together.

Rolled Dough

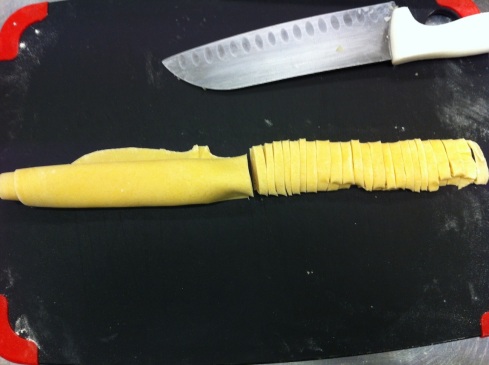
Lesson #1:  To make straight noodles you roll the dough and then cut to the desired thickness.  This means you’re cutting through all layers and when it “unwinds” they will be the same thickness from start to finish.

Cutting the Dough

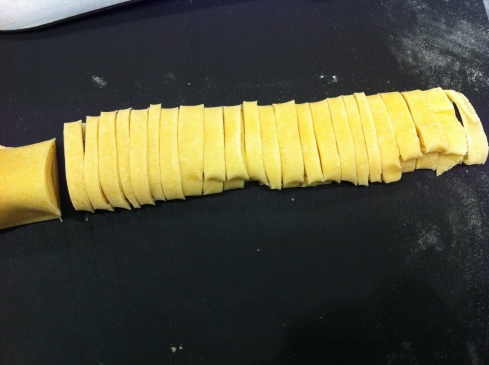
Close up of my knife skills.

Linguini Size

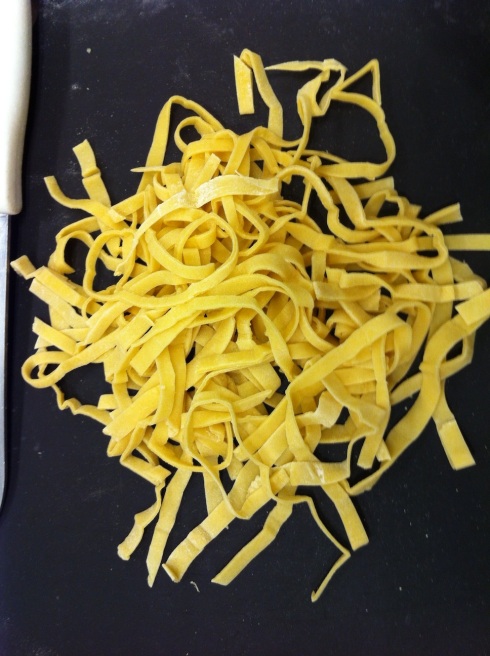
Then you toss these pieces around a bit, unrolling them, picking them up and dropping them until they look like a professional looking bit of noodles. Ooohhh, aaahhh.
Noodles

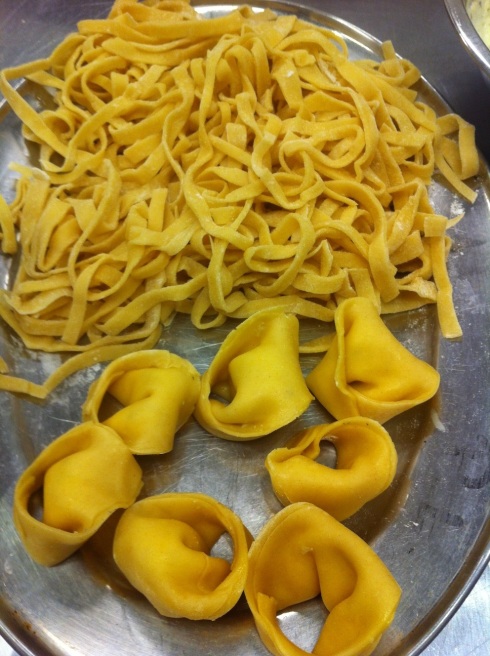
Lesson 2: The only difference between types of pasta are they’re size and shape. Tortellini for example, is just ravioli but looped around to form a different shape.

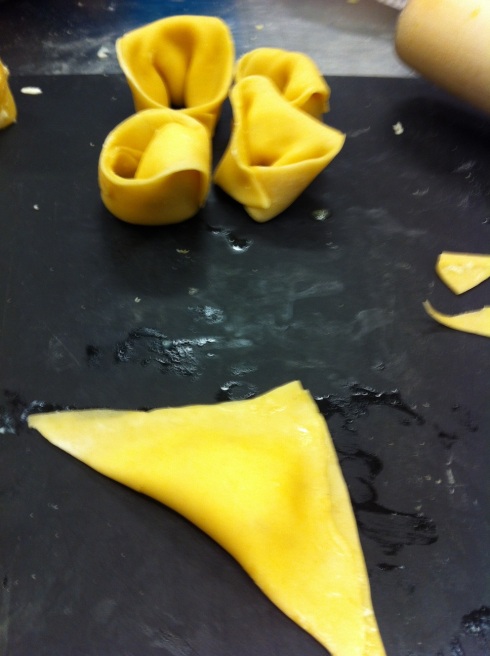
Making the tortellini was a little challenging at first.  I botched the first couple which I left out on purpose. You put a little filling in the center of a square cut piece of dough, then fold it and crease the sides so the filling won’t spill out.  Then you connect two corners and fold back the 3rd one.  I ran short on time and just started making “triangle” tortellini, which in other words is just ravioli.

Tortellini

Now I have my two different types of noodles and I’m ready to boil them.
Pasta!

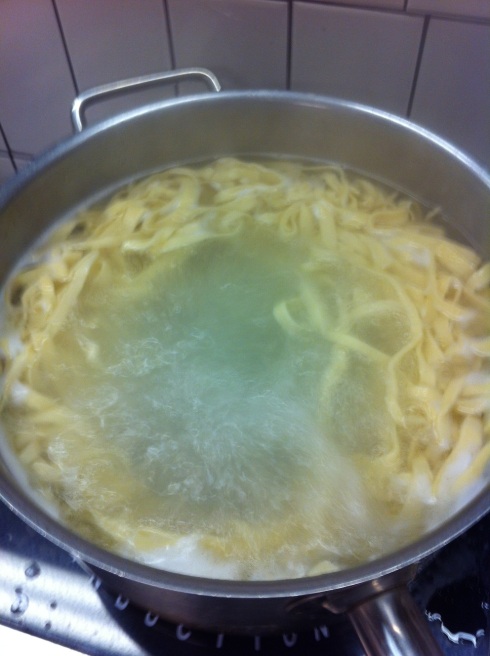
Lesson #3:  Water should be at a rolling boil and have lots of salt.  It should taste like sea water.  The noodles will sink to the bottom at first and after a few minutes will rise to the top.  Also, there is no time limit on noodles.  You cook them to taste.  So eat one every so often until you’re satisfied.
Boiling Noodles

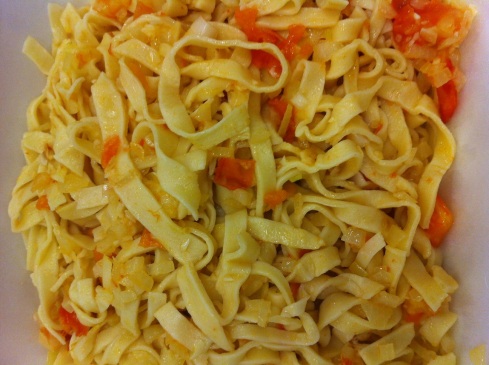
We then moved onto the sauces.  We were running low on time so I don’t have much to show here.  We made a roasted tomato, onion, garlic sauce to go over the linguini.  It was a bit too oniony for me but it still turned out really good.
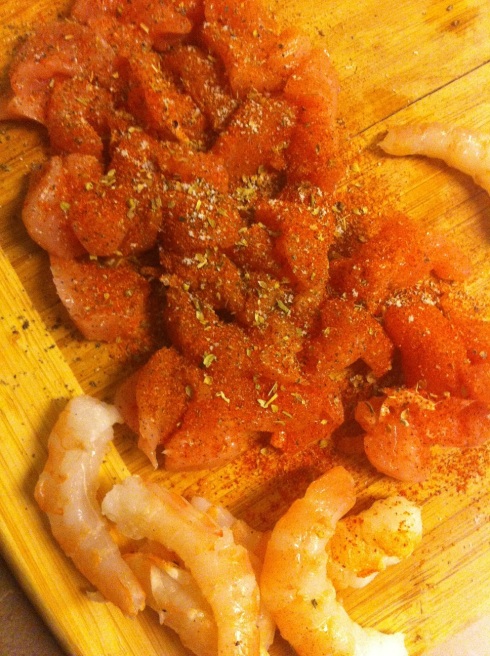
Linguiini Finished

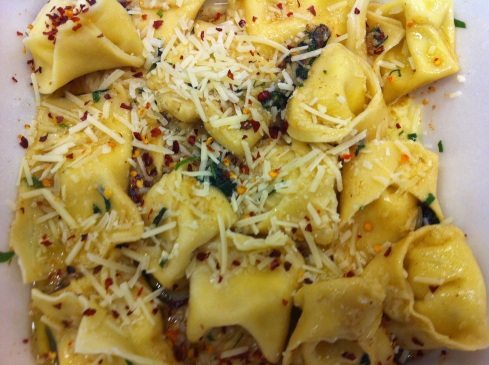
For the tortellini, the piece de resistance, we made a browned butter sauce.  It was a half stick of butter, browned, with parsly and a little white wine.  Then we topped it off with parmesan and red pepper flakes.  Yes, it tasted as good as it looks.  I’m very happy with how it turned out and will be making this again for sure.
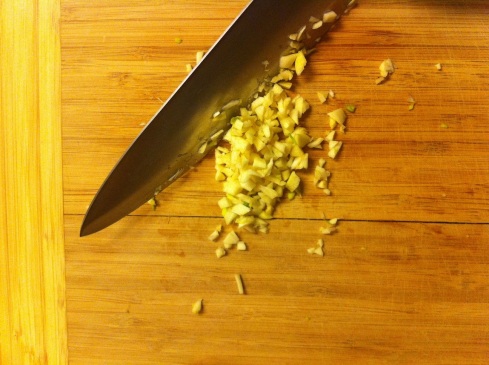
Tortellini Finished


Banana Muffins

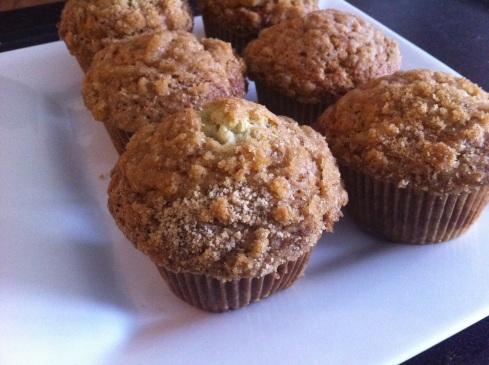
What do you do when life gives you ripened (aka black) bananas?  Make Banana Muffins (or bread)!  I decided last week that I should be making more muffins and it just so happened I had 3 ripe bananas waiting for me when I got home from Indiana.  Muffins are an easy thing to throw together and make for a quick breakfast.   This was the first time making this particular recipe and I thought they turned out quite nicely (10 muffins).  The crumble on top is the best part.  The Mrs. ate ~1.5 of them, which left me to finish the other 8.5.  I didn’t complain.

Banana Muffins


You’re My Sweet Potato Pie

Tomorrow night our small group from church is getting together and we’re having a “Snackluck”, the combination of the traditional Potluck but with snacks. Get it?   What started as a casual idea turned into an unspoken (out loud) competition to see who would bring the best food item.  Heidi is making a mushroom spread and I’ve decided on a Sweet Potato Pie.

Let me first start off by saying that this pie is made from scratch.  Let me pause on the word scratch for a second.  I’m going to assume most of you just thought to yourself, “store bought crust, can of sweet potato puree, and followed the recipe on the can.”  And you’d all be wrong.  When I say from scratch, I mean it.

The crust, which is a simple flour, butter, sugar, water combination, was lovingly made by hand.  By yours truly. NBD.  I use the pie crust recipe explained in the first couple minutes of this video from Cookology.  Off Topic:  That video is about making a pumpkin pie from scratch, which I also did last Thanksgiving and my name has been recorded in the history books forever.

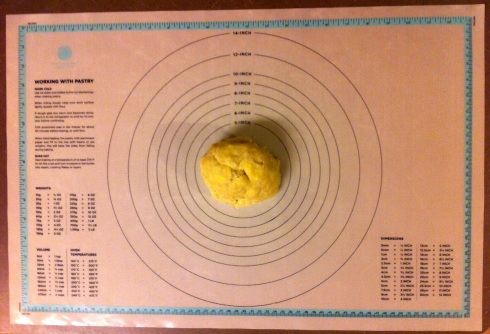
Dough Ball

The dough is kind of the focal point here but also notice the pastry mat underneath.  See the awesome measurements and pie rings?!  It was a Christmas gift from The Mrs. and it’s wonderful.  I recommend having one. No more rulers and a lot quicker cleanup.

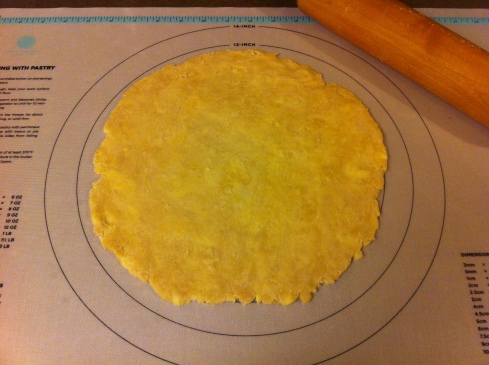
This is for a 9″ pie pan but you can see it’s rolled out to ~11″, this is because the crust goes up the sides of the pan and should overlap the edge as well.

Rolled Dough

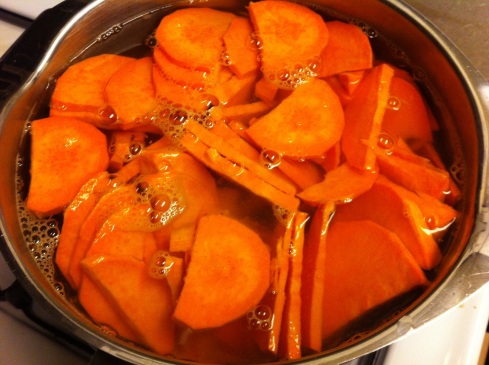
The sweet potatoes are the real deal (garnet yams).  Cans (and box mixes for that matter), let’s just say, are for posers.   I first peeled the potatoes, cut them in slices and boiled them until soft and tender.

Lesson Learned #1:  Boiling adds water to the potatoes and thus can make it a runnier puree which may cause it to cook funny.   So make sure to really drain those potatoes.  The alternative is to wrap the potatoes in foil and bake them for a really long time and scoop out the insides.

Boiling

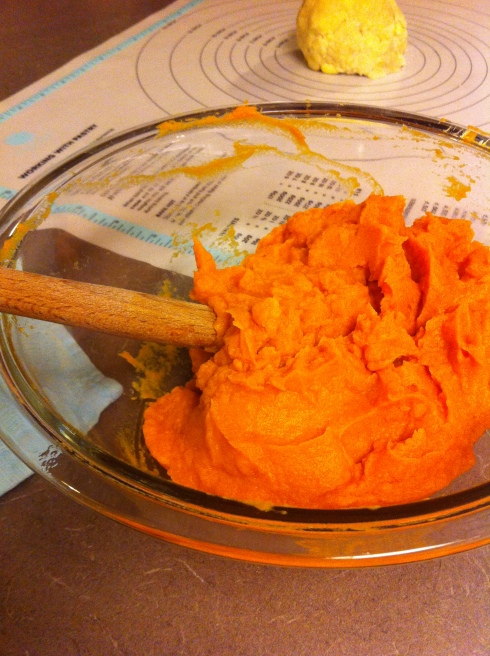
Then you puree them until they’re as smooth and soft as… a baby’s bottom…. sure, we’ll go with that.  I used an immersion blender for those who are curious.

Puree

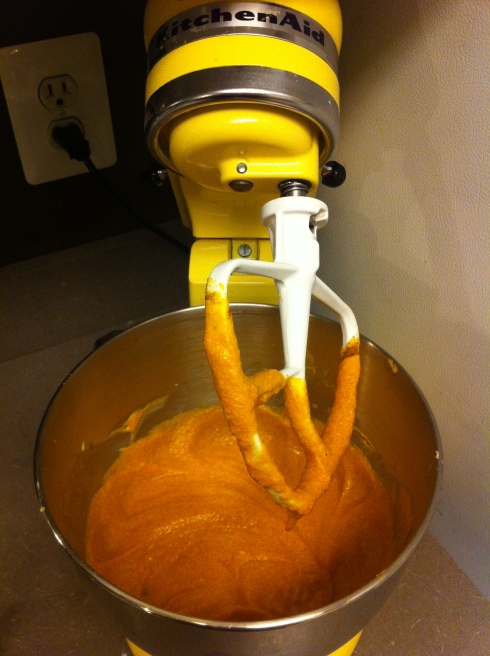
After that it’s just blending in the rest of the ingredients: butter, sugar (white and brown), eggs, nutmeg, cinnamon, and vanilla.

Combined

Did someone say nutmeg?  Fun Fact for the Day:  Nutmeg in large quantities turns out to be a nasty hallucinogen.  Feel free to peruse these Google results if interested.

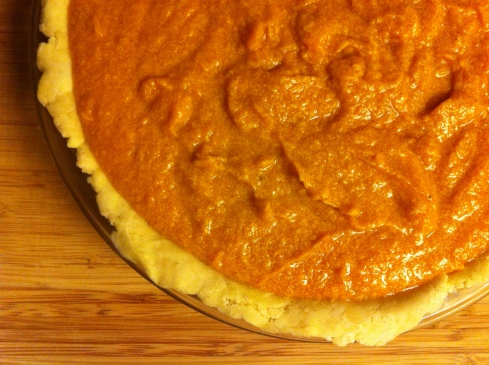
Once all the ingredients are combined, you fill a 9″ pie pan.

Oven Ready

It’s goes into the oven at 350 for 50-60 minutes.

Lesson Learned #2:  A handmade buttery pie crust once heated will melt the butter and cause it to start dripping onto the oven floor. This results in a little smoke and possibly a smoke detector going off.  Put a baking sheet on the rack below it to catch the falling butter droplets. Problem solved.

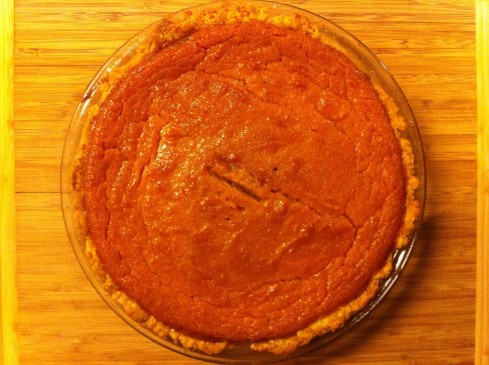
Finished


I’ll let you know when I win the Snackluck.


Pioneer Woman – Steakhouse Pizza

Day #5 of Pioneer Woman Dinner Week was finished off with Steakhouse Pizza, including homemade dough.   I’ve been making my own pizza dough for a while now and enjoy trying new dough recipes.  The crust can make or break a pizza.   I usually make enough dough for two pizzas but this recipe was a single crust.

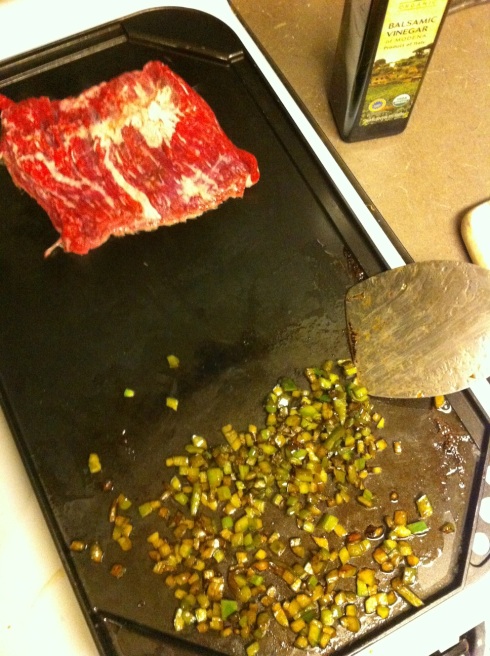
The original recipe calls for 2 onions to be grilled up but since the Mrs. isn’t a fan of onions I substituted green pepper.

On the griddle

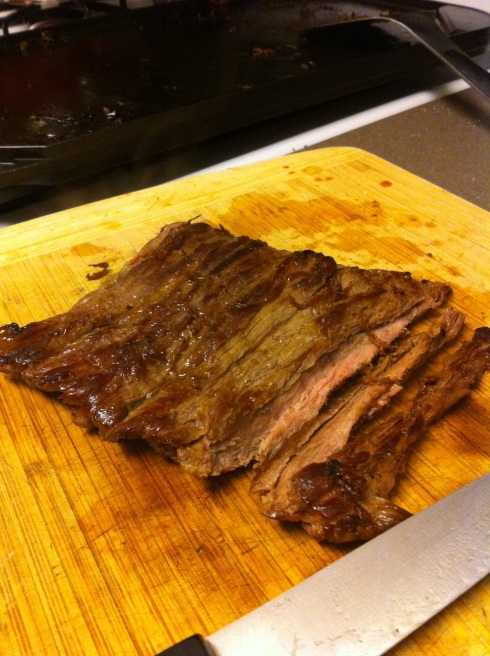
I think then grilled up the flank steak and cut it into strips.

Steak

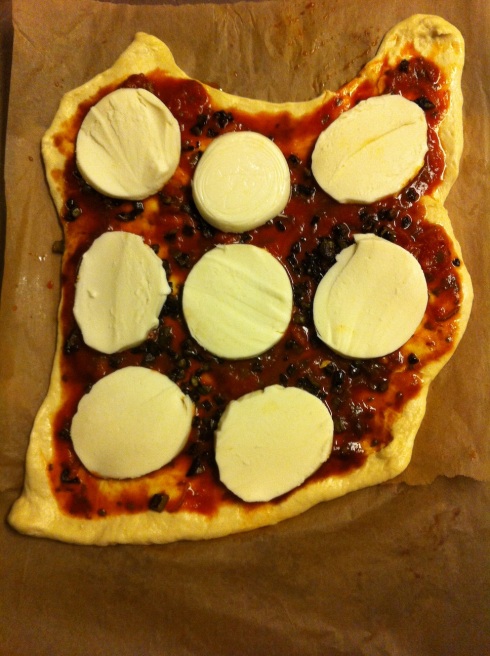
We used real mozzarella on this bad boy.  We rarely buy the real stuff but I did it in the name of following the recipe and it sure was tasty.  This used a couple ingredients I’ve never used with pizza before: 1) balsamic vinegar and 2) worcestershire sauce were added to the marinara sauce.

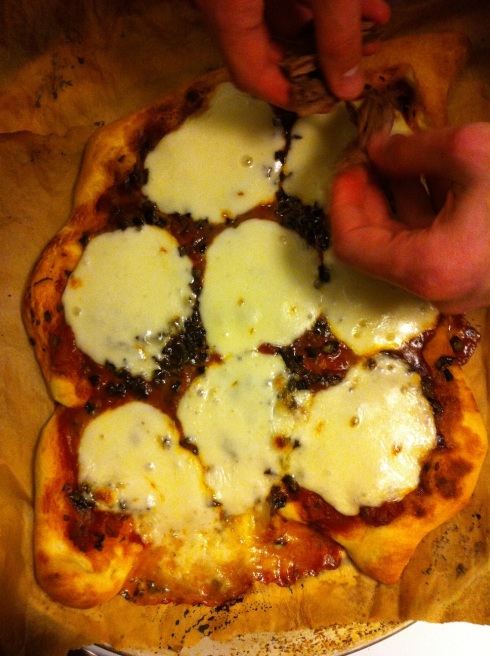
Assembled

A quick ~10 min at 475 and we’re ready to go.  I heard a tip a while ago, that you let the pizza cool for as long as you baked it.    I think it’s supposed to help the crust soften up.

Cooked


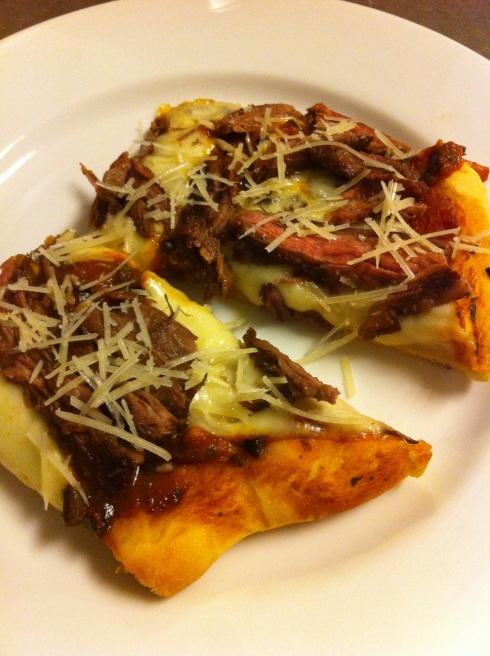
The finished product is sprinkled with parmesan and steak sauce.  We didn’t have any steak sauce though so I skipped that part.

Plated


Pioneer Woman – Cajun Chicken Pasta

Day #4 of Pioneer Woman Dinner Week is Cajun Chicken Pasta. A couple years ago I experienced Yats in Indianapolis, Indiana and have been hooked on cajun food since then. Yats has an amazing Chili Cheese Etouffe that I highly recommend. I know I’ll be making that again so I’ll post it when I do.

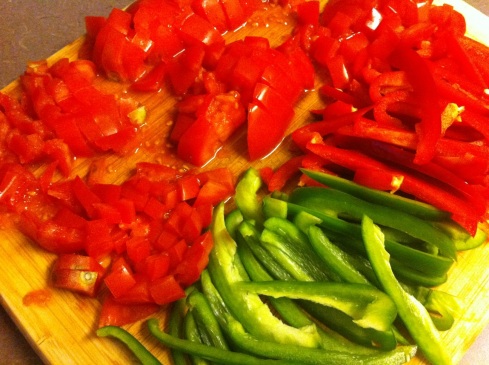
As with most cajun recipes, the first step is cut, chop, and dice up all the ingredients. The holy trinity of cajun recipes are green pepper, onion, and celery. However, this recipe mixed it up and swapped the celery for tomatoes. I was working with a dull knife tonight so it wasn’t super fun, but I like getting all the prep work done first so it’s just combining, cooking, and stirring after that.

Vegetables

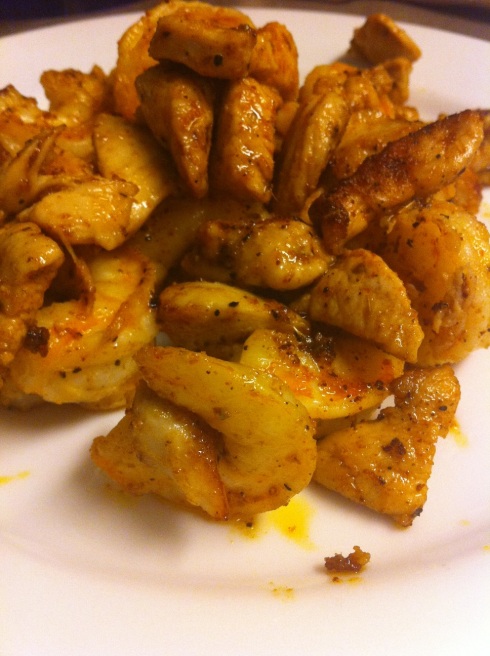
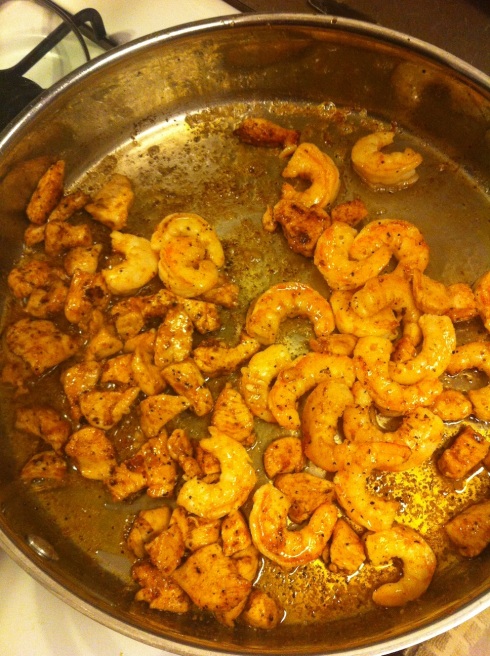
I used a single chicken breast from the whole chicken I dismantled on Sunday and added shrimp since that’s also a staple in most cajun recipes. Mmmmm… my mind often drifts back to a jambalaya pasta I had at the Yard House in Fort Lauderdale, FL about a year ago. It was the BEST jambalaya I’ve ever had.

Meat

Anyway, enough daydreaming, back to dinner. The garlic was diced by hand, although I think I prefer the garlic press. Not sure if there’s any difference in the results.  Definitely use fresh garlic though, not that powdery stuff.

Garlic

The meat is cooked first, on high, in some butter and oil.

Cooking Meat

Once that’s done we set it aside for later.

Cooked

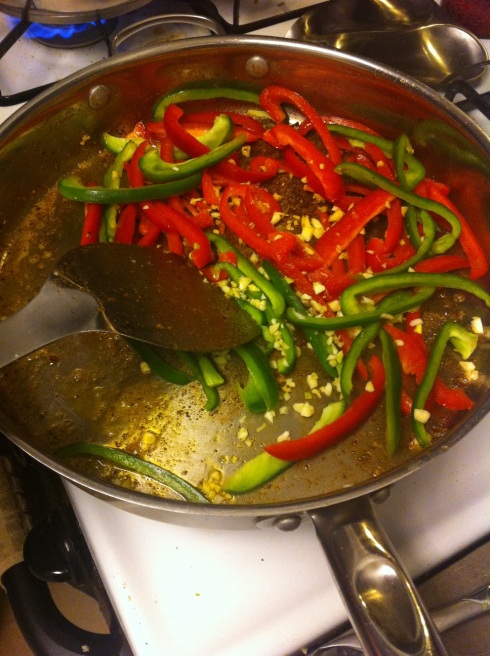
Now it’s the veggies turn, peppers, onions (if you’re using them), and garlic goes in first. After the peppers have browned and softened add the tomatoes for a short stint.

Veggies in Pan

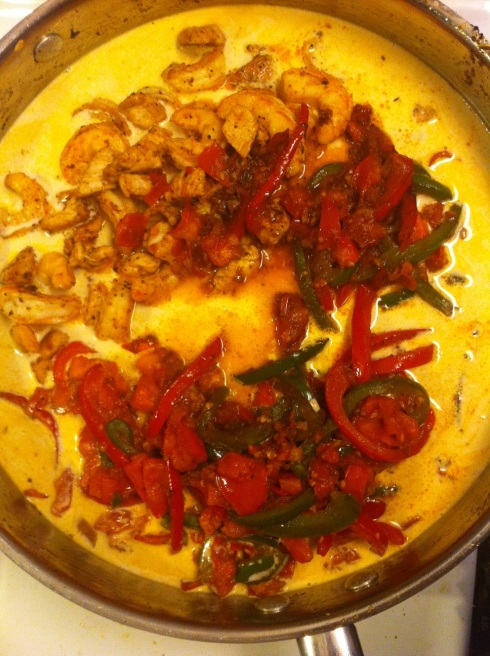
The sauce is white wine, chicken stock (hand made, from the same whole chicken), and heavy cream. It’s supposed to thicken up but I struggle with that part. Then you combine everything together in the pan and season to taste.

Combined

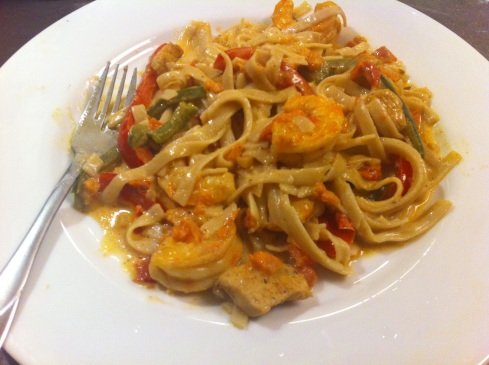
Here’s the final plated version that we both devoured. This was about a 45 min recipe I would say. I couldn’t decide if noodles or rice would be better here. I’m a fan of my cajun food on rice so I’ll probably do that next time. Rice helps soak up the extra sauce too.

Cajun Chicken Pasta


Pioneer Woman – Spinach Artichoke Pasta

Day 3 of my Pioneer Woman Week of dinners I decided to make Spinach Artichoke Pasta. Heidi and I love spinach artichoke dip and I thought the pasta version sounded great. I used rice noodles to reduce the amount of gluten we’re intaking, but still had 1.5 T of flour in the sauce to thicken it up.

Cooking Steps in a nutshell, see the original recipe for full details.

  1. Butter + garlic + spinach, set aside.
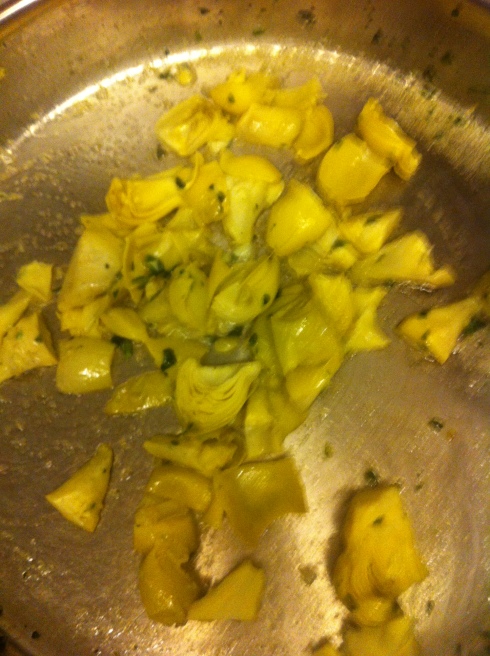
  2. Butter + artichokes, set aside
  3. Butter + flour + milk + cheese (parmesan and mozzarella)
  4. Combine everything together and season with salt, pepper, and cayenne.
  5. Once combined, top with red pepper flakes and panko bread crumbs for a nice crunch.


Spinach

Artichokes


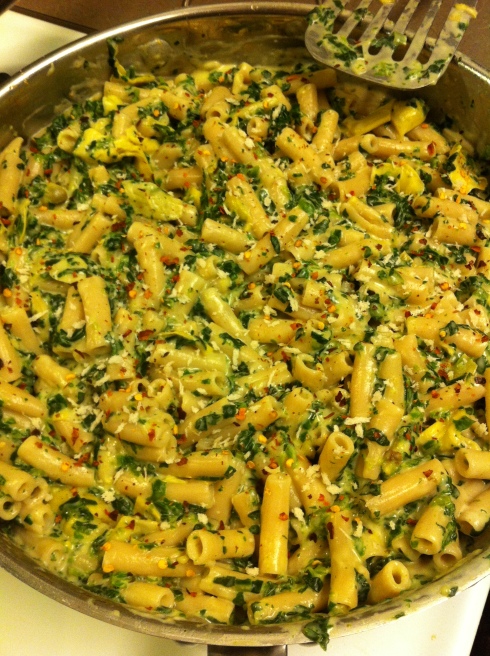
Here’s the final product.  I think I had too much pasta and could have used some more artichokes.  The red peper flakes gave it a good spice and the bread crumbs gave it some additional texture.   This meal was extremely easy to make and took ~30 minutes.

Finished Product


Pioneer Woman – Grilled Chicken Salad

Tuesday of “Pioneer Woman Week” was Grilled Chicken Salad with feta, corn, and blueberries.

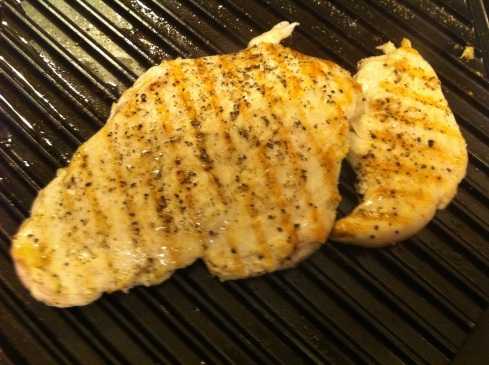
First step is to pound down a chicken breast or two, season them, and grill it up.  I tried to get the criss cross lines you see in a restaurant but didn’t only got the criss part.
Grilled Chicken

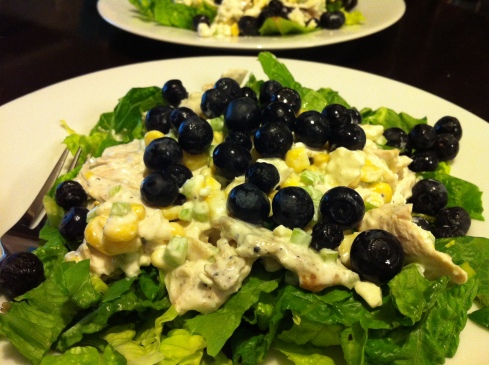
The sauce here is a combination of mayonaise, sour cream, lemon juice and spices.  You combine finely chopped celery, corn, chicken, and sauce and mix it up. We skipped the chopped onions since Heidi and I don’t do raw onions.  We decided to put it over a bed of lettuce even though the recipe doesn’t call for it.  Finally, it’s topped with fresh blueberries.  It was a light, refreshing dinner.  It took about ~30 minutes to make and was something fun to try out.
salad4